


Introduction
Hello again! If you've read my previous article, you know that I want to teach programming a lot. After I wrote that article, I noticed that there wasn't any reason for me not to teach on my blog, so I decided to start a series of Flask tutorials on my blog.
Me with Flask
I started to learn Flask a couple of months ago with CS50's online lectures. Since then, I have spent a lot of time with Flask, but I think I'm still new to Flask. These days I'm working on making a social media app with Flask.
Why do I want to start these tutorials?
I have multiple purposes to start these tutorials. As well as being helpful to you, I aim to improve my knowledge of Flask and my teaching skills.
What is Flask? Why should you learn it?
Flask is a framework that helps you to build web applications using Python. You should learn it because it's useful and easy to learn. You can do a lot of things with Flask by combining your knowledge of Python and frontend development (HTML, CSS, JS)
Let's Start!
Installation
First, we will install Flask on our code editors. In this tutorial, I will be using Sublime Text; and show you how to install Flask with Sublime Text because it's easier than doing it with other code editors. You can use a different editor if you want, but you need to do the installations differently with a different editor.
Create a new folder on your desktop, and open Sublime Text. Then open this folder on Sublime Text (File>Open Folder>Desktop>FileName)
To open a new python file select File and New File. Then save this file and give it a name, and don't forget to give it the file extension py. This is the file I created
app.py Sorry for misspelling the word "Tutorial" :)
- After that, we will set the python syntax to our file. Open up Command Palette from Tools and search "Python".
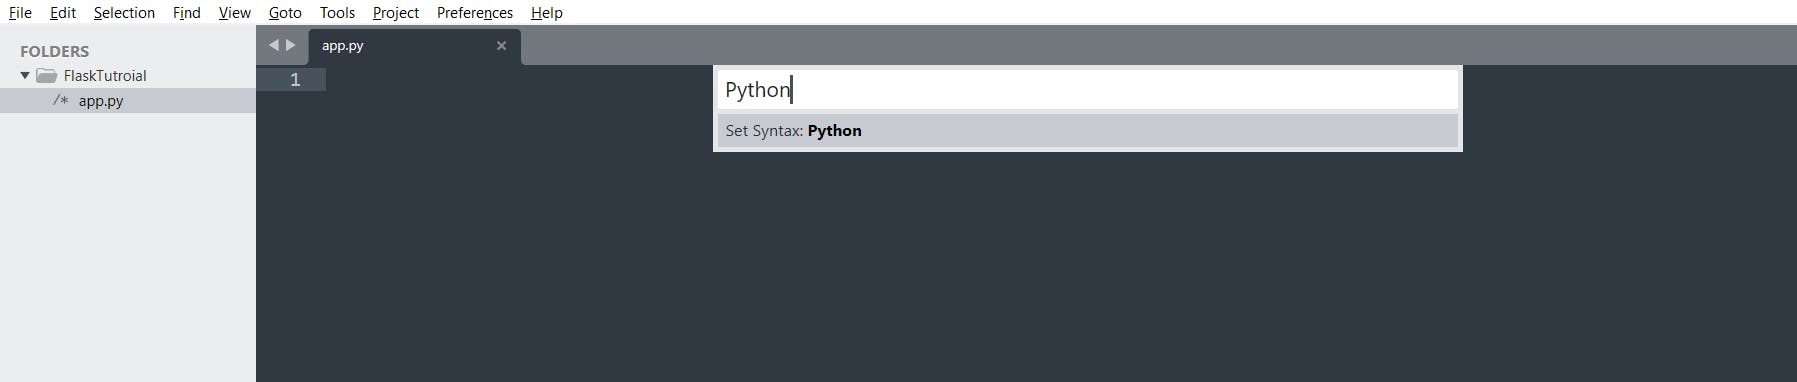 Then select Set Syntax: Python
- Now we are in the last step. Search for Flask on the Command Palette and select Flask: Create New App
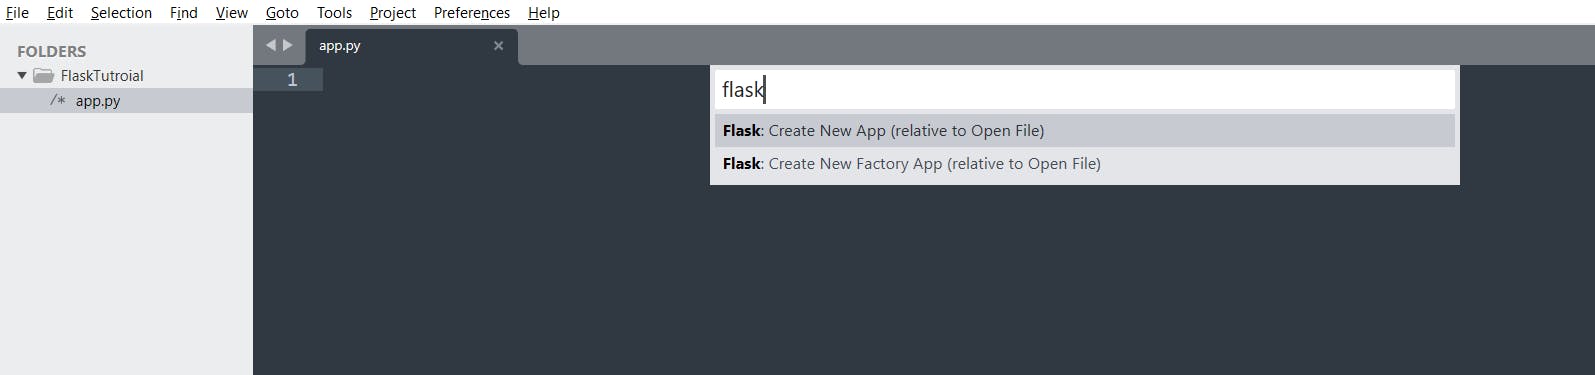
Installation complete! That much easy!
Project Set-Up
Now open up the file
app.pywhich is going to be our application file.First of all, we will import the flask module
from flask import Flask
- Next, to identify this current file as an application, we will write this code
app = Flask(__name__)
- Let's define a route and a view function
index
@app.route('/')
def index():
    return "Hello World"
That route we created executes the view function index which displays the string "Hello World!"
- Lastly, to run the app we will write this conditional
if __name__=='__main__':
    app.run()
The variable __name__ has the value of the string "__main__" which means the if conditional is satisfied and the app will be run.
You can turn on debugging by using the keyword argument debug=True of the method app.run()
if __name__=='__main__':
    app.run(debug=True)
The set-up is complete. It should look like this:
from flask import Flask
app = Flask(__name__)

@app.route('/')
def index():
    return "Hello World"

if __name__=='__main__':
    app.run(debug=True)
Now we can use the shortcut Ctrl + B to build the application, after you do this you will see that a window shows up at the bottom of the page; and in this window, there is a link

Copy that link and paste it to your browser
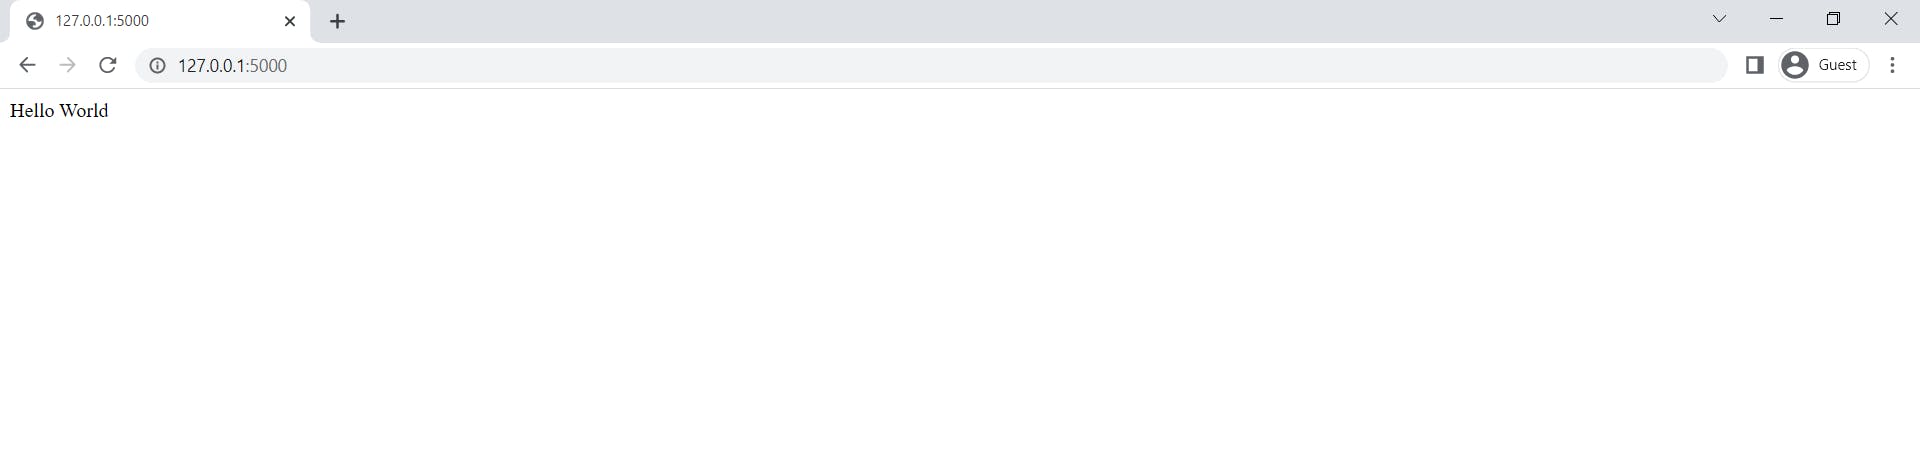
As you can see the string returned by the view function index, is displayed on the page.
Now Let's try to display a different string. I want to display my nickname "Dew Plucky" on my page, to do this I will return the string "Dew Pluck" with the view function index
@app.route('/')
def index():
    return "Dew Plucky"
And when you refresh the page, you can see your new string on the page
